
Part 9: Our Treat Journey | How to Make Clean, Single-Protein Treats at Home
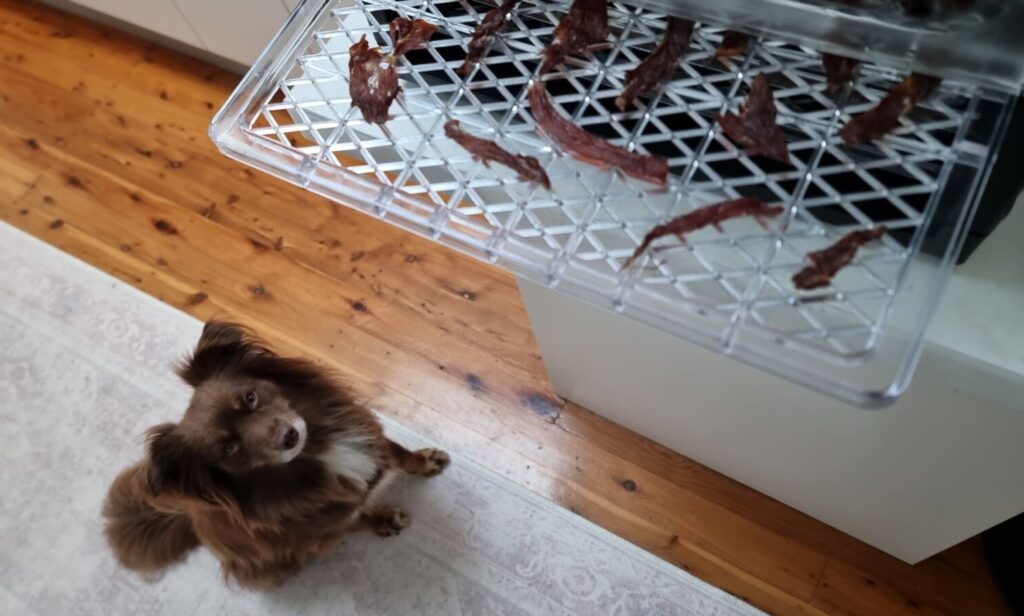
Finding the Perfect High-Value Training Treat
When Monte and I first started puppy school, I quickly realised that trying to motivate a little herding dog is a very different game compared to the likes of a food-obsessed Labrador. While they would turn inside out for a simple piece of kibble, Monte required something genuinely compelling to hold his focus.
Finding that perfect reward turned into a long journey of trial and error. Because clean, human-grade options were my ultimate goal, I wasn’t comfortable stuffing him full of processed sausages or blocks of sodium-heavy cheese just to get a reliable sit.
Naturally, we explored the premium pet store shelves. Air-dried options like Ziwi Peak, and lesser-known premium brands like Providore, became fast favourites – specifically Providore’s Chicken & New Zealand Manuka Honey. The ingredients were clean, and Monte loved them. But convenience comes at a price. It is very much like buying those pre-washed, pre-cut salad bags at the supermarket; you pay a ‘lazy tax’ for the convenience.
While those bags are excellent to have in reserve, relying on them for daily training sessions didn’t seem sustainable. Cooking my own dog food was never really an option, but making a single-protein treat felt entirely doable. So, off I went to do some of my own research.
Baking vs. Dehydrating: Taking Out the Guesswork
When looking into making single-protein treats at home, I generally found that there are two options: baking or dehydrating.
Naturally, baking was the first experiment, as I did not have a dehydrating gadget. However, getting the core perfectly dry proved quite tricky. It either got too burnt around the edges or didn’t dry all the way to the centre. If you want to take out the guesswork, I highly recommend investing in a multi-tray dehydrator.
As always, I checked how much they retail for and then had a quick look on Facebook Marketplace, just in case someone had an unwanted gift. Bingo – I scored a brand new one, unopened in the box, for half the price, and it was exactly what I wanted. Mine is the Sunbeam Food Lab Electronic Dehydrator DT6000 Black, but anything similar in size will do the trick.
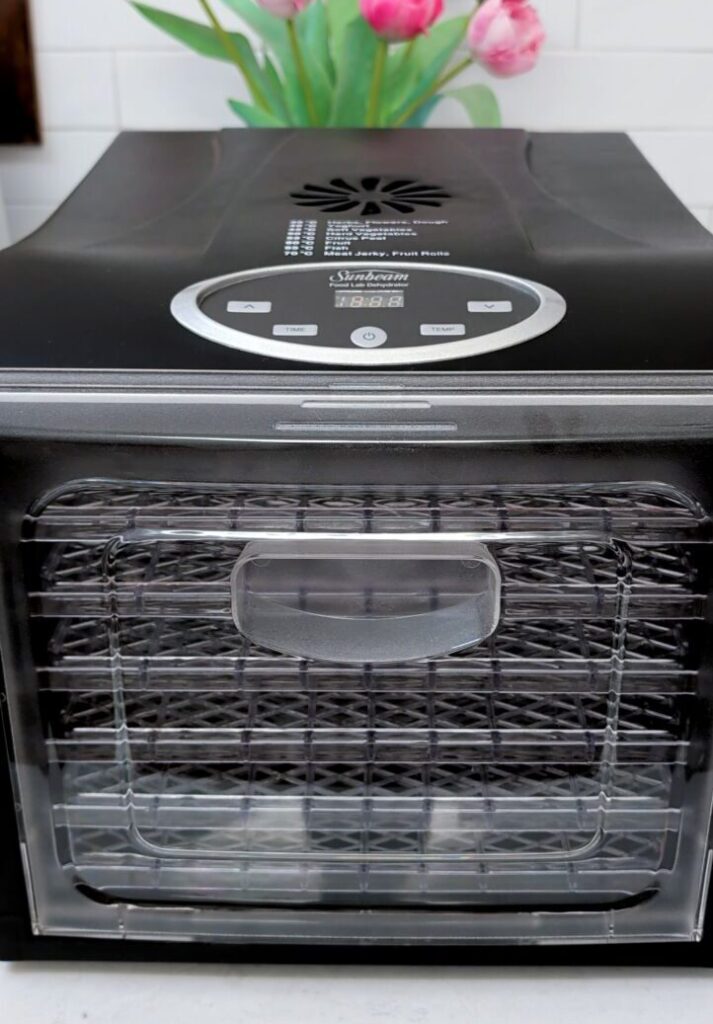
The only downside is that it’s big. It is definitely not something you would want taking up permanent space on your bench, so have a think about where you can store it when it is not in use. On the plus side, it cleans easily, and because it has multiple trays, it makes a great amount of treats to get you through several training sessions.
Keeping it Simple: The Grocery Store Haul
Experimenting with different proteins is great. However, grabbing standard cuts from the local grocery store keeps things simple and saves an extra butcher run.
THE MonteCaro TIP
Pop your chosen meat into the freezer for about 30 to 45 minutes before you prep.
Lightly freezing it firms up the texture, making it so much easier to cut into thin, even slices!
Getting your slices nice and even is important so they all dry at the same rate.
Even more importantly, you need to trim off all the visible fat before dehydrating.
Animal fat does not evaporate during the drying process. If left on, it can turn rancid quickly at room temperature. This will significantly shorten the shelf life of your treats.
My main go-to options are:
- Chicken Fillet: Lean, easy to slice (especially when semi-frozen), and a solid crowd-pleaser
- Pre-sliced Beef Strips: The ultimate time-saver since the slicing is already done for you
- Kangaroo or Turkey: Fantastic lean alternatives. Especially if you want to mix it up or if your dog has specific protein preferences
- Chicken Liver & Chicken Hearts: These are highly valuable for training and actually a very budget-friendly option
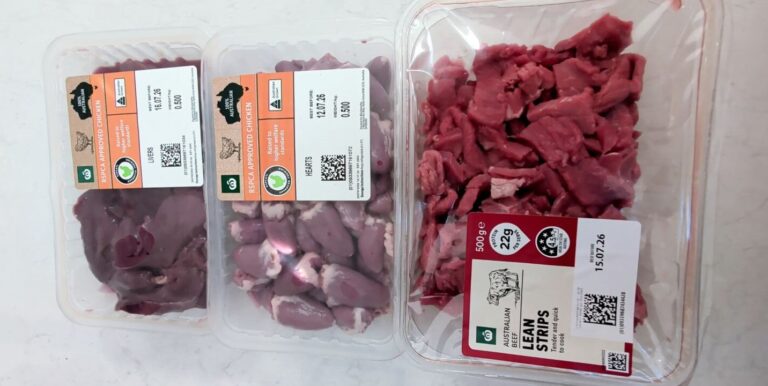
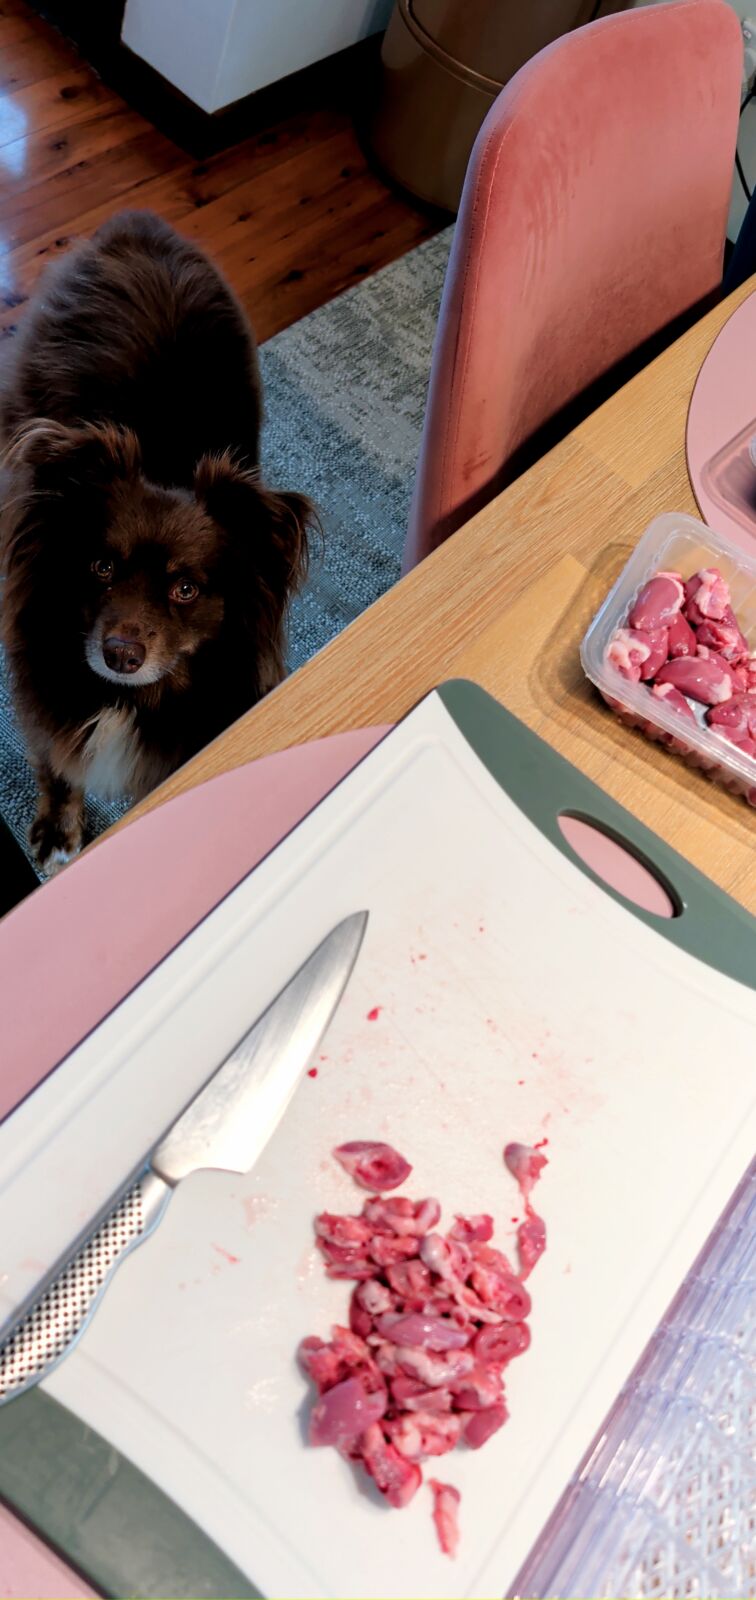
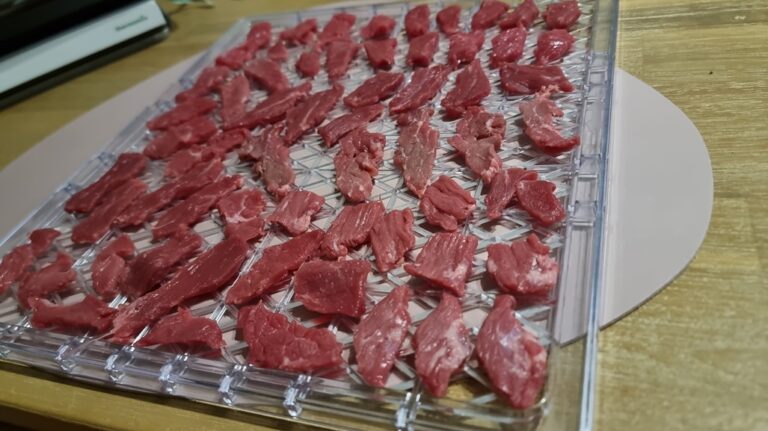
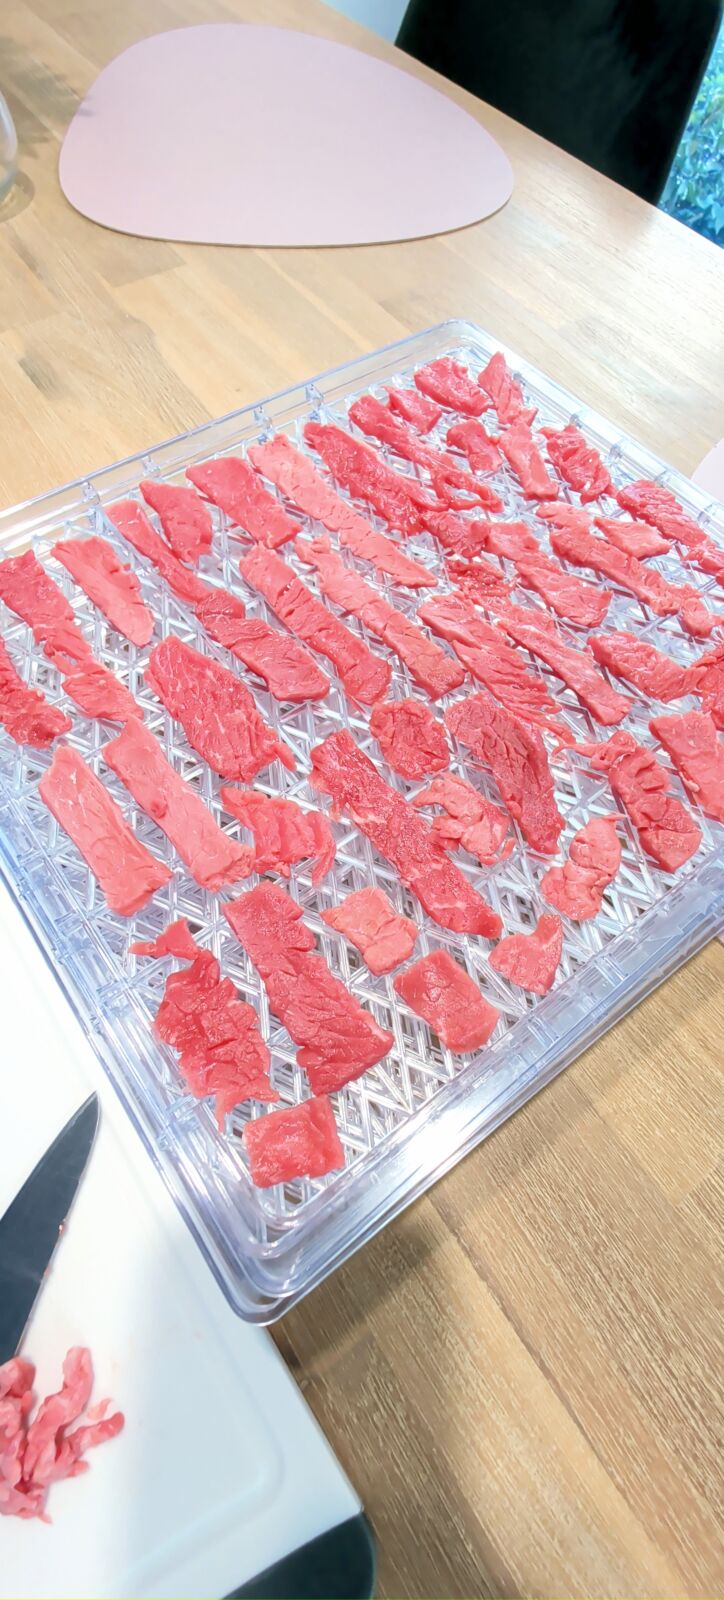
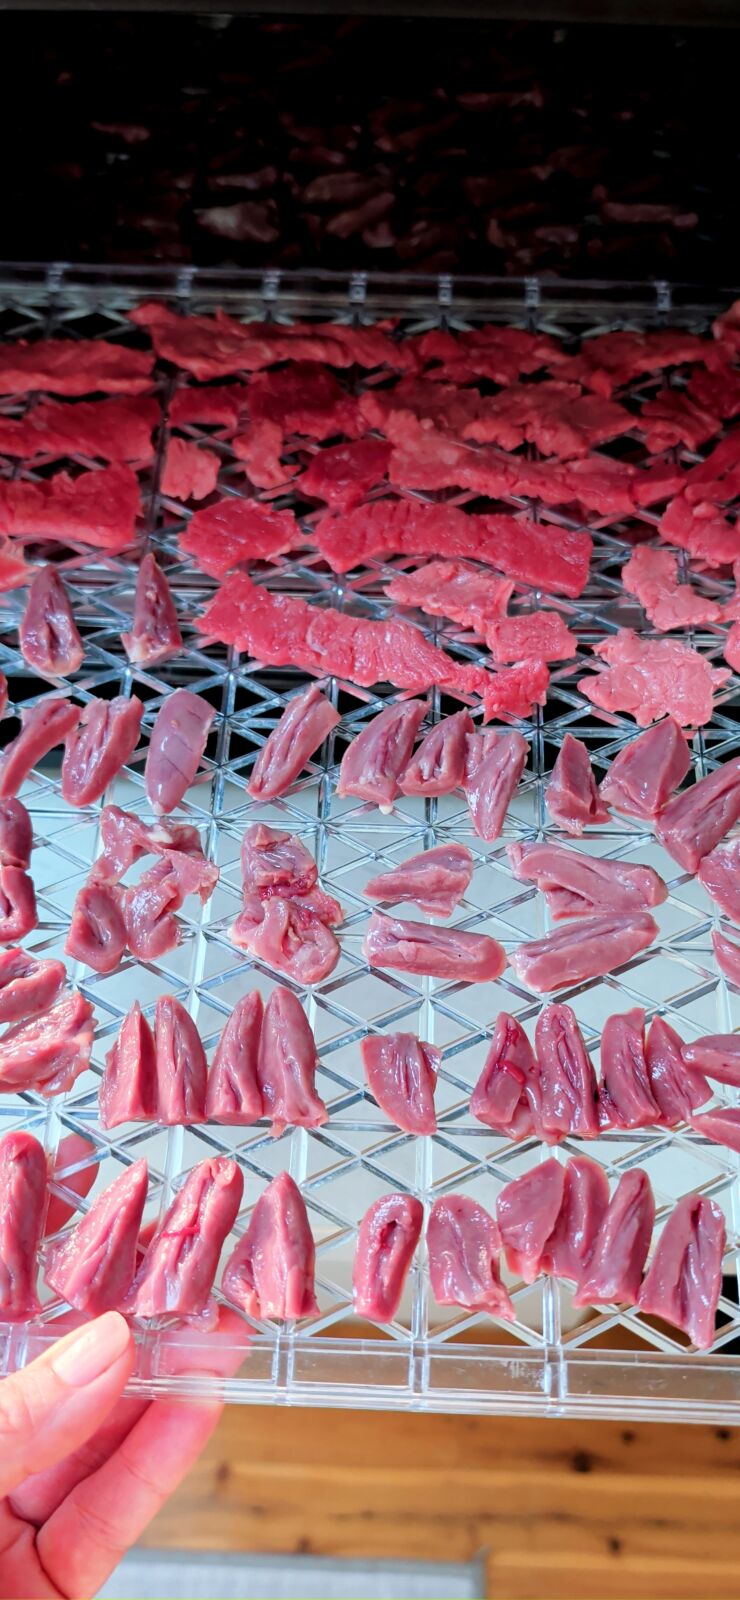
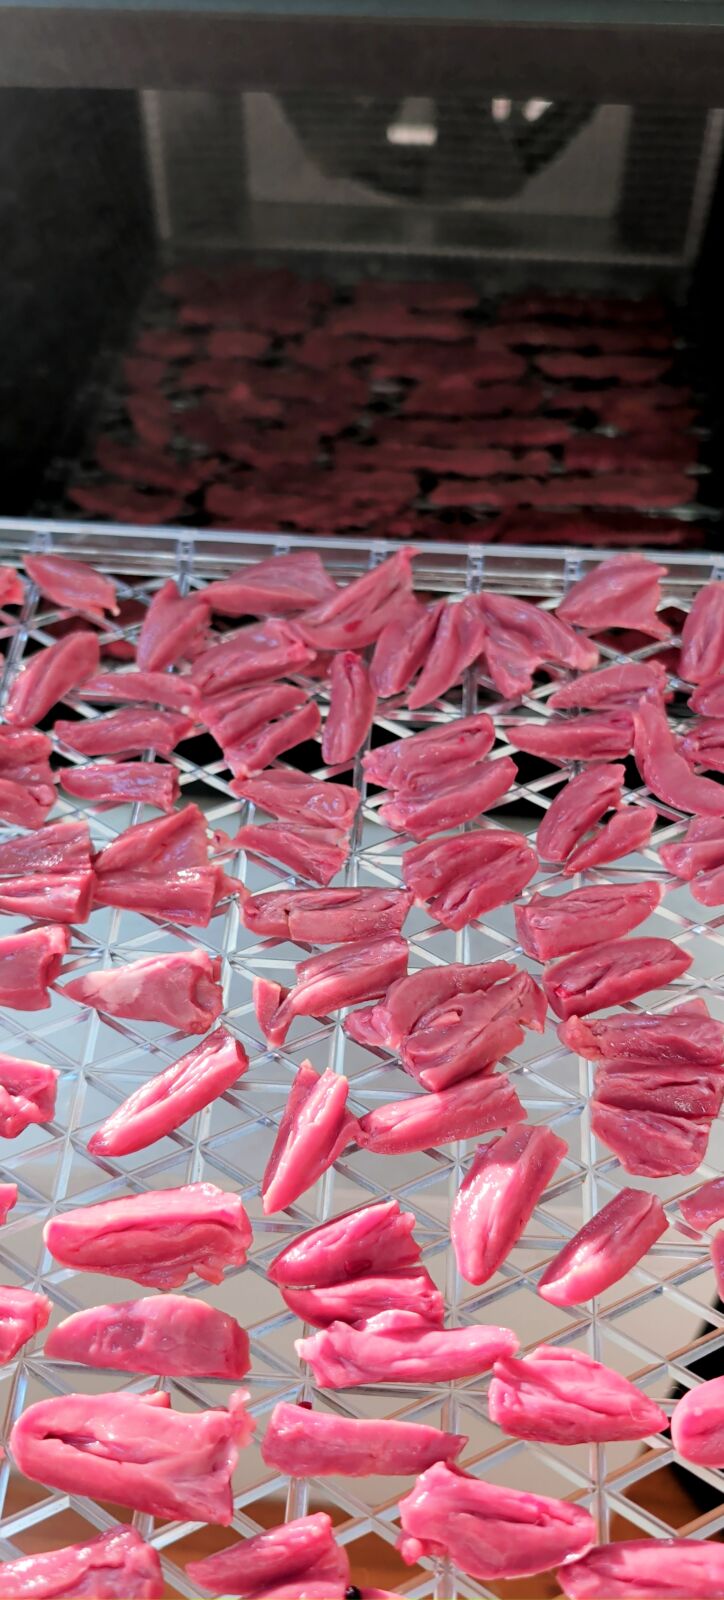
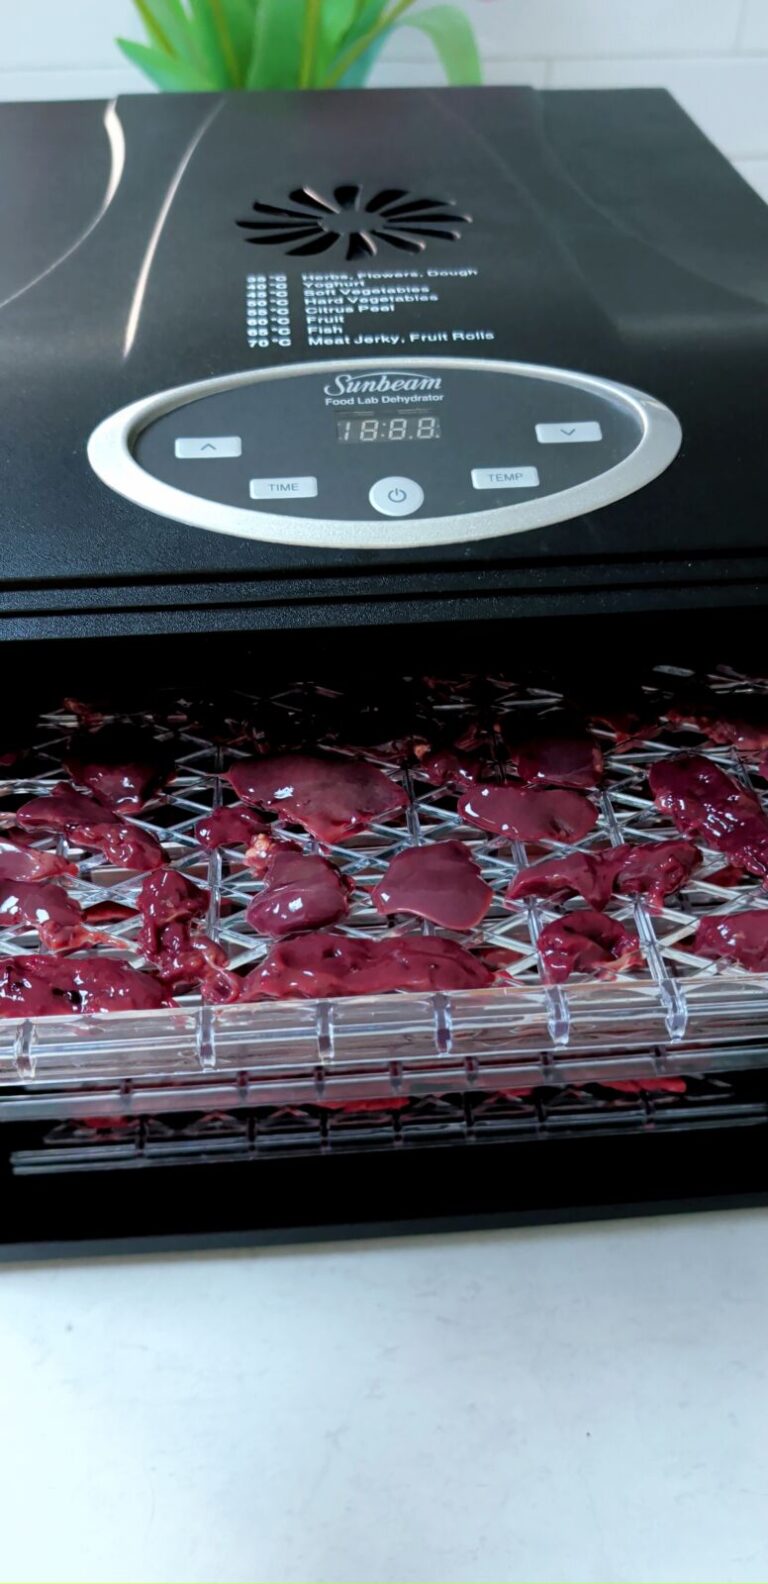
The preparation for the liver and hearts is a little more confronting, though! The liver is probably the messiest out of the lot due to its wet, sloppy texture. If you are not into cutting up little hearts or dealing with slippery offal, you can absolutely try kangaroo or turkey, which are just as great.
While we are on the topic of confronting, I have never actually tried to dry chicken necks or feet. Aside from being a little too far outside my comfort zone to look at, I think they would be a lot trickier to get right. They contain a lot more moisture, so if they aren’t done perfectly, they could easily spoil.
While I stick to the simpler cuts. I recommend trying a few different ones to see which one your dog likes the most. I do use the liver quite frequently. Even after drying, it still retains quite a distinct smell. This makes it absolutely fantastic for the scent work games I have started to play with Monte, as it is so much easier for him to find.
Why Dehydrate? (And the 10% Rule)
If you are wondering why dehydrated treats are so highly recommended, it comes down to how the nutrients are preserved. The dehydrator uses a slow, gentle heat to draw out the moisture. This stops bacteria from forming and makes the treats shelf-stable. Best of all, it doesn’t destroy the natural vitamins and minerals the way high-heat baking can. You are left with a 100% natural, single-ingredient treat with absolutely no chemical preservatives or mystery fillers.
A quick note on using offal and organs, like the chicken liver and hearts I mentioned: while they are absolute superfoods for dogs, they are incredibly rich. The general rule of thumb in dog nutrition is that organ meats should make up no more than 10% of your dog’s overall diet.
Feeding too much at once can easily lead to a very upset tummy, so I use the liver pieces sparingly as high-value jackpots rather than handing them out by the handful.
Other types of offal, like beef or lamb lung, are also fantastic options. Dried lung goes beautifully puffy, light, and easy to snap into tiny pieces. However, they are much harder to come by at a standard supermarket and usually require a special trip to a butcher, which slightly defeats my goal of keeping the grocery run simple!
The Overnight Magic & Storage
What I quickly realised once I started making these is that the actual hands-on time is incredibly minimal. The preparation takes just a around 30 minutes, and then the dehydrator does the heavy lifting. With my machine, I just stick it on 70°C for 10 hours and it works its magic while I sleep.
Once they are ready in the morning, they have already cooled down, so I only need to transfer them to their designated container. I use one that has four sections, which I find super handy as I always make a mix of proteins, but standard plastic ziplock bags work just as well. Naturally, Monte is glued to my side the entire time I am packing them away, sitting in quiet hope that I might drop a piece.
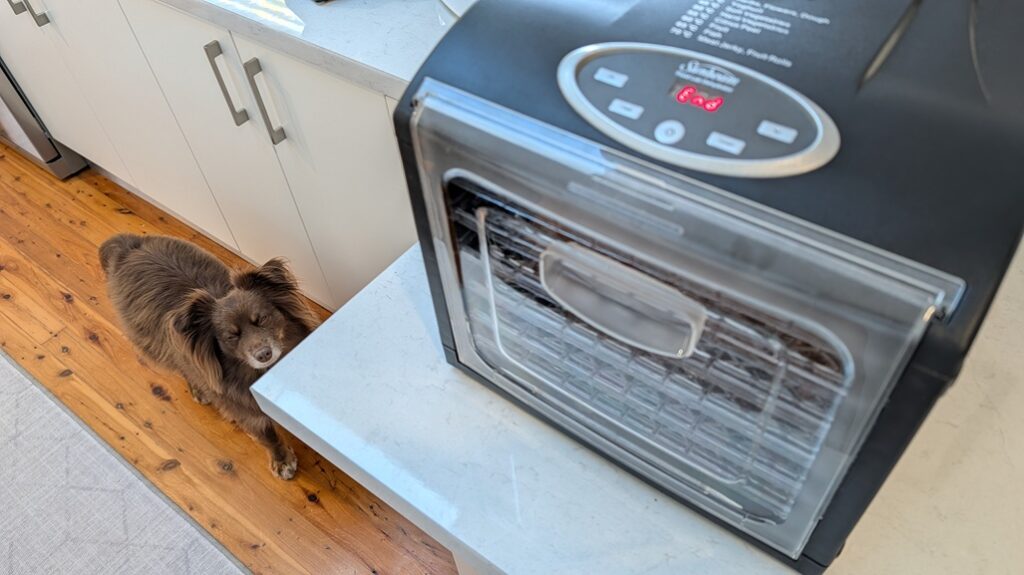
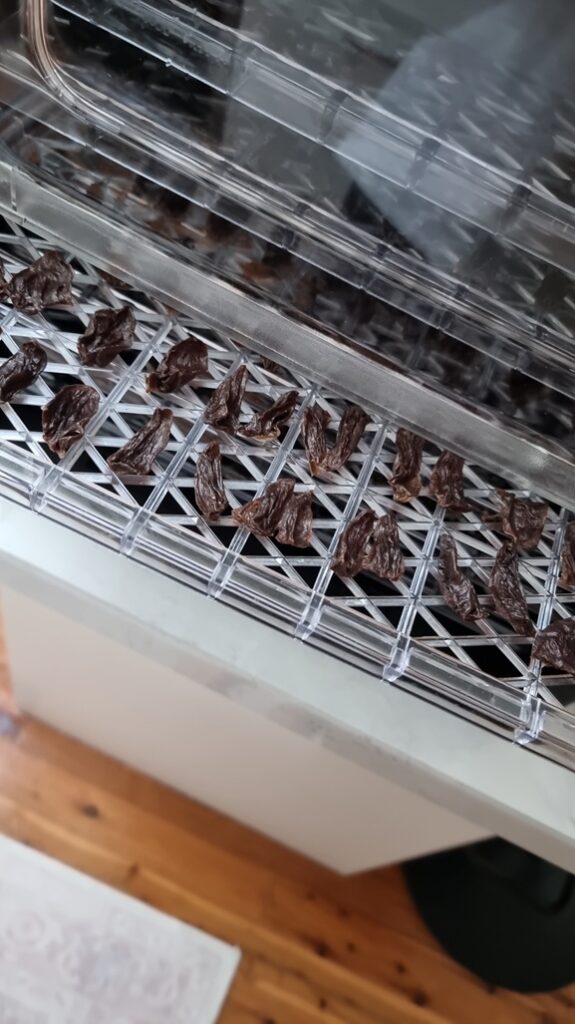
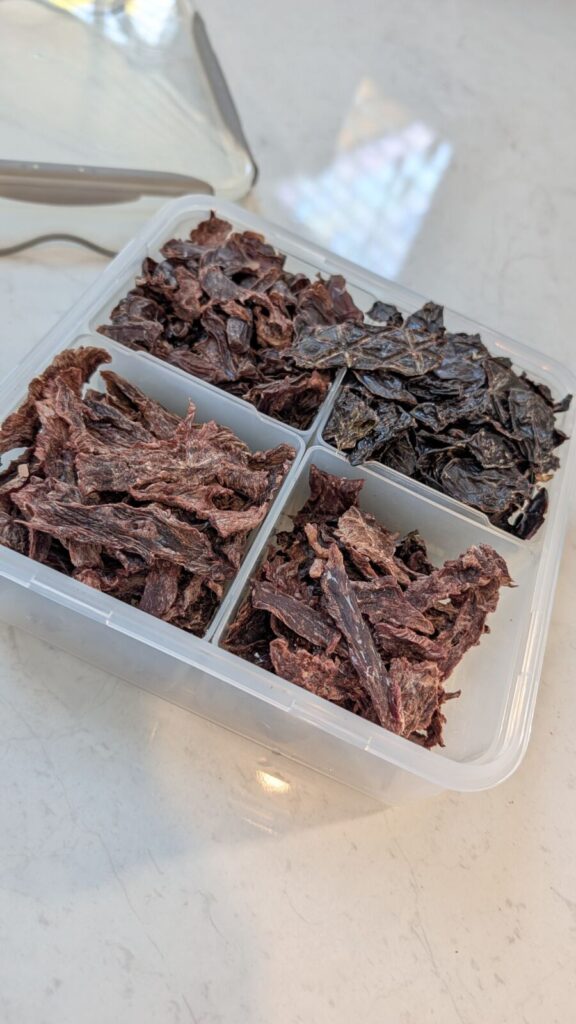
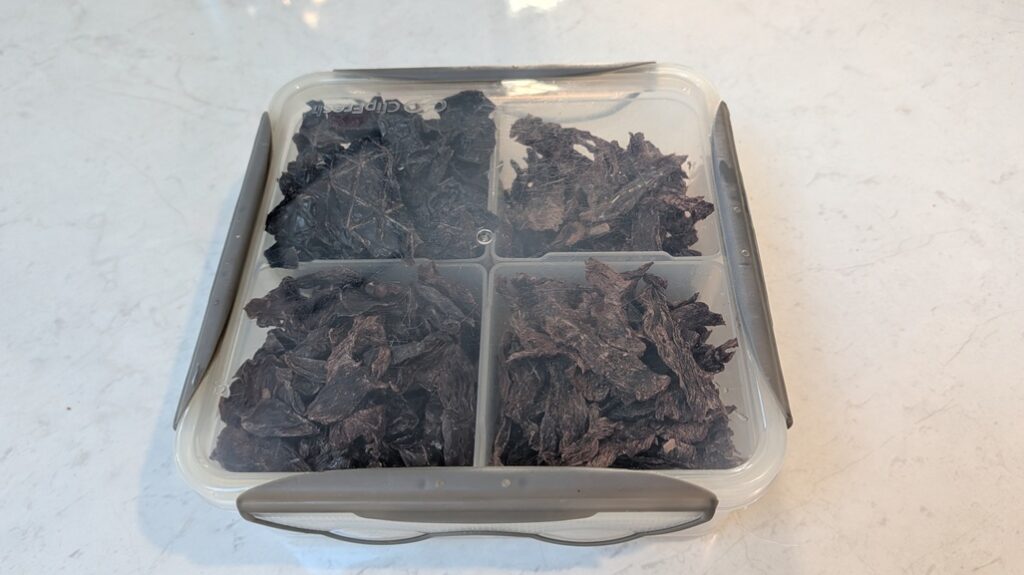
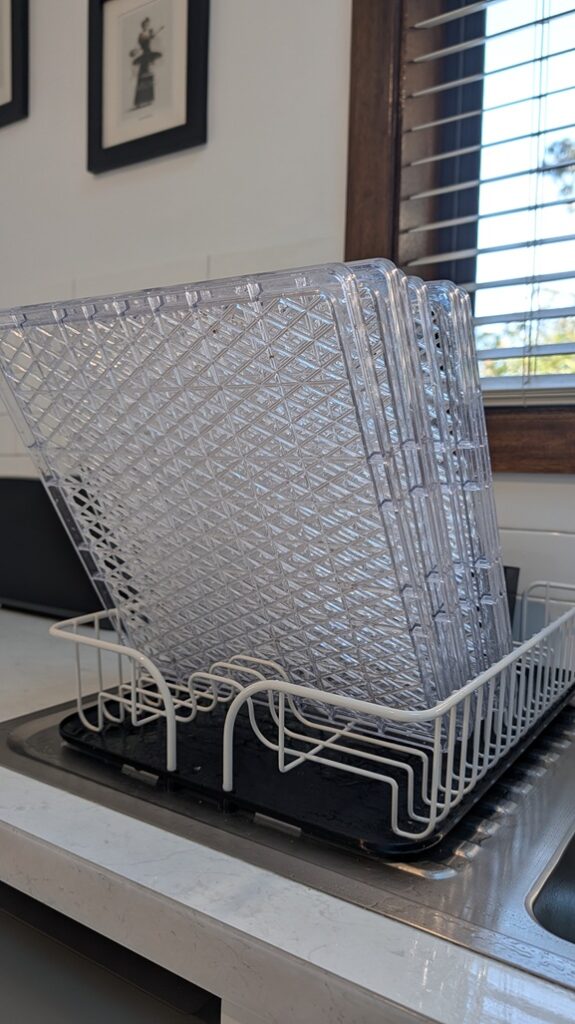
When it comes to long-term storage, there are mixed opinions out there. Some people swear by keeping their dried treats in the fridge to be safe, but for the majority of the year, I just keep my container in the pantry and they do perfectly fine.
Sometimes it is just easier to see how it all comes together. Hit play below to watch my quick prep routine and Monte’s excellent supervision skills in action.
As a quick bonus, this machine isn’t just for Monte treats! I have also used it to dehydrate various fruits for myself. Having some dried apple or mango slices on hand is a great treat for humans, too.
The reward isn’t just financial; there is a distinct satisfaction in knowing exactly what is going into Monte’s training pouch – pure, clean food, with absolutely zero ‘lazy tax’ attached.
Ready for the next chapter? Part 10: When the Ground Shifts | Navigating Monte’s Bilateral Luxating Patella Diagnosis
Have you tried making your own?
If you have taken the plunge into dehydrating your own dog treats, I would love to hear your go-to proteins! Drop a comment below with your favourites, or let me know if you have any extra tips for a dehydrator newbie.
Leave a Reply